-
- +48957411162
- KolorBox
- RAL
- Satisfaction is 100% Guaranteed
- On - Time Delivery
No products
Prices are tax included
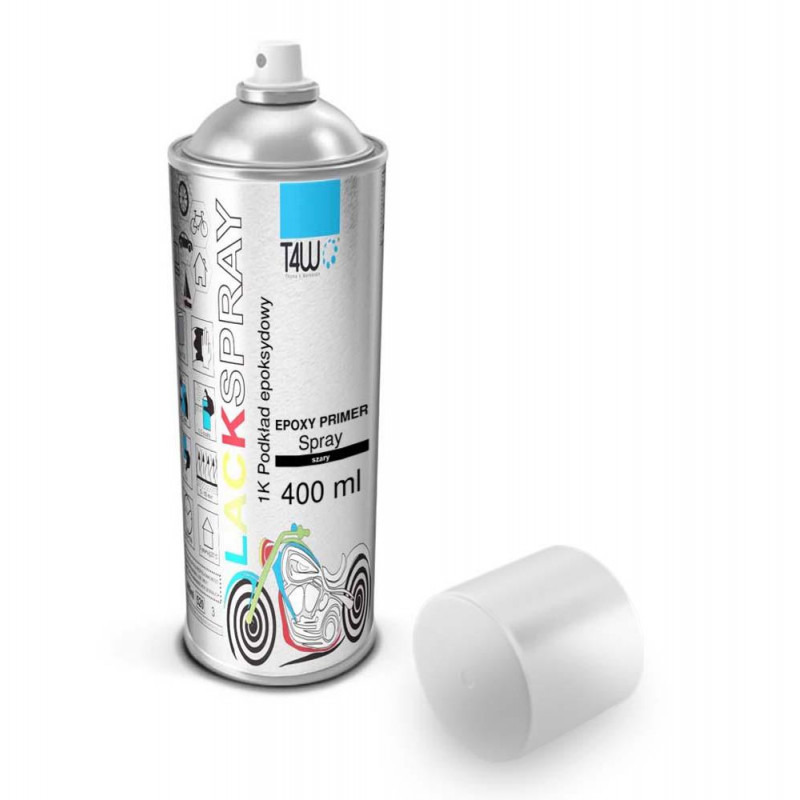
T4W Epoxy Primer Spray / 400ml
Epoxy primer in aerosol is a specialised formulation used in many industries, including automotive, industrial and DIY, to prepare surfaces before painting. It has high adhesion, corrosion resistance and excellent protection from the elements. Below are the key features and applications of epoxy spray primer: Features: Excellent adhesion: The epoxy primer forms a...
More info
Epoxy primer in aerosol is a specialised formulation used in many industries, including automotive, industrial and DIY, to prepare surfaces before painting. It has high adhesion, corrosion resistance and excellent protection from the elements. Below are the key features and applications of epoxy spray primer:
Features:
- Excellent adhesion: The epoxy primer forms a strong bond to a variety of substrates such as metal, aluminium, steel, fibreglass or plastics.
- Corrosion resistance: Thanks to its anti-corrosive properties, the primer effectively protects surfaces from rust and other forms of chemical degradation.
- Quick drying: The spray formulation allows quick and even application, speeding up the process of preparing the surface for further treatment.
- Durability: Creates a hard and durable film that is resistant to mechanical and chemical damage.
- Ease of application: The spray allows precise and even application of the primer, even in hard-to-reach areas.
Application:
- Automotive: Ideal for repairing car bodies, preparing metal parts before painting and protecting vehicle components from corrosion.
- Industrial: Used in various industrial sectors to protect machinery, equipment and metal structures.
- DIY: Excellent for hobbyists and do-it-yourselfers to refinish and protect metal garden furniture, tools, as well as other metal objects.
- Construction: Used to protect metal structural components and installations from corrosion.
Application method:
- The surface to be painted should be clean and dry, rust and old coatings removed. A silicone remover may be required to degrease the surface.
- Remember to protect adjacent parts with masking tape MTE80 or a special adhering anti-static foil with T4W-TM tape.
- Sand the surface with sandpaper to remove any remaining old coating. We recommend starting with p400 paper. Clean again from dust, dry and degrease.
- Before use, shake the can for 1-2 minutes to thoroughly mix the primer and propellant. If the spray can has been stored in cold conditions it may be necessary to warm it up, e.g. in warm water, so that the temperature inside is around 20-25°C. This will ensure that the product is applied evenly and that the nozzle does not ‘spit’.
- Test the product, spraying method on a test surface, e.g. a piece of cardboard or an invisible surface.
- Apply the primer from a distance of about 30cm, in thin layers, allowing the thinners to evaporate before applying the next coat. Apply successive coats until fully covered, using a cross-spray pattern.
- Apply 1-3 coats depending on the desired final resultThe evaporation time between coats depends on the ambient temperature and the thickness of the coats, standard is 5-7 minutes.
- When dry, wet sand the surface with fine sandpaper of p1000 grit.
- After cleaning the surface again, coat the primer in the colour of your choice.
Tips:
- Always test on a test surface before application.
- When finished, turn the can upside down and press the valve for a few seconds.
- This will clean the nozzle and valve of any paint residue and you will be able to enjoy the colour to the end of the can without the nozzle drying out.
- The thinner the layers of paint, the better. It is always better to apply an extra layer than to risk streaks.
- Take your time and let each layer evaporate, as applying successive coats too quickly risks paint defects such as peeling or streaks.
- Remember that the ambient temperature plays an important role: If it is higher than 25 degrees Celsius or lower than 15 degrees Celsius, the drying time must be taken into account.
- Never paint in direct sunlight or in hot weather.
- Remember that the thickness of the coating and the humidity also affect the evaporation of subsequent coats!
Data sheet
| Volume (ml) | 400 |
| Color | Grey |
| Type | 1K (One-Component) |
| Mixing Ratio | spray ready |
| Package | Spray (aerosol) |
| Properties | Insulating/anti-corrosion primers |
| Manufacturer code | 33063 |
Questions
No questions for this product, be the first to ask


