-
- +48957411162
- KolorBox
- RAL
- Satisfaction is 100% Guaranteed
- On - Time Delivery
No products
Prices are tax included
Warning: Last items in stock!
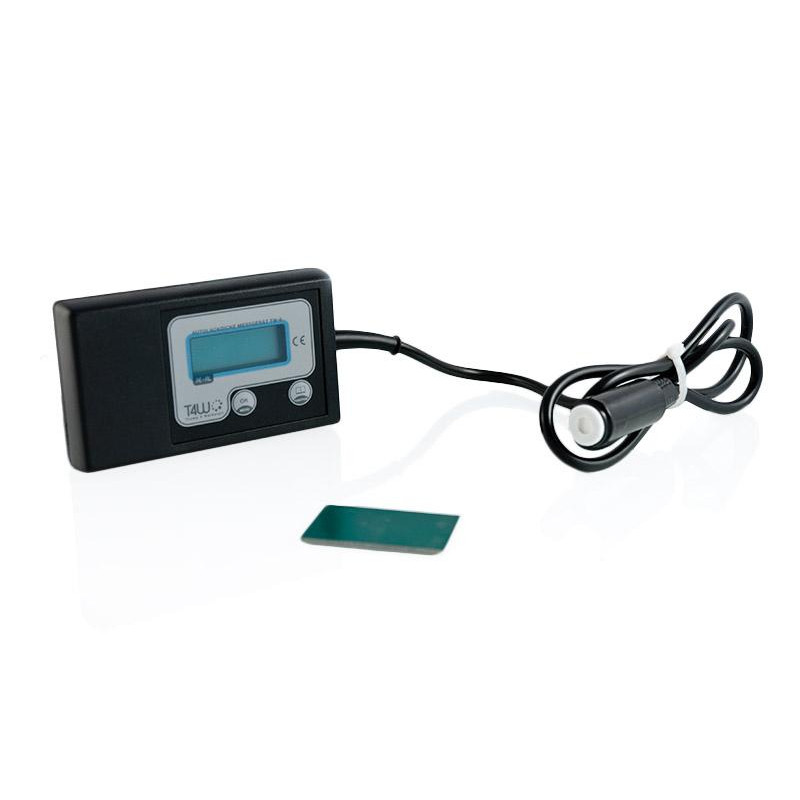
T4W Paint thickness gauge TW-6s / DE
Paint Thickness gauge TW-6s used to measure the thickness of the paint layer imposed on automotive sheet steel, galvanized steel or aluminum. It also allows adaptation to other metals. Probe was placed on the cable. The measurement is shown on the large, clear LCD display 2 lines of 8 characters. Measurement resolution is 10um and range from 0μm to 1100μ...
More info
Paint Thickness gauge TW-6s used to measure the thickness of the paint layer imposed on automotive sheet steel, galvanized steel or aluminum. It also allows adaptation to other metals. Probe was placed on the cable. The measurement is shown on the large, clear LCD display 2 lines of 8 characters. Measurement resolution is 10um and range from 0μm to 1100μm. Built-in memory of 100 measurements allows easy viewing of measurements by measuring the activities performed. Memory is not erased when the device is turned off or the battery removed. The meter has a reset function (calibration) – plate reset is complete. Useful function of measurement used for the selected reference point (see specifications below). The meter has a battery status indicator. The device has a built-in backlight, so that it is easier to measure in the darker areas (eg in the garage). Keyboard buttons polycarbonate with resistant to high humidity.
The device is operated from the seven main menu function: measurement, material, memory, reference, disable, delete measurements, zero.
Features selected yellow button, and a red approved the selected feature and “enter” to MENU. Operation of the instrument is very intuitive. The device is manufactured in Poland.
Features:
- measurement on steel sheet, galvanized steel, aluminum and the ability to adapt to others (such as copper);
- measured relative to the selected reference point (see below);
- probe on the cable – length about 80-90cm;
- measurement resolution: 10um;
- measuring range (thick paint): 0μm to 1100μm;
- Cache memory took 100 measurements;
- polycarbonate keyboard with keys, resistant to high humidity;
- reset function (calibration) – reset plate included;
- LCD backlight;
- intuitive operation with 7-position menu;
- Meter automatically shut down after a long idle;
- Battery status indicator;
- Power supply: 9V alkaline battery (eg 6LR61) or 9V battery;
- keyboard based on the DIP;
- Probe diameter: 15mm;
- Power consumption: about 50mA
- meter is CE marked;
- warranty of 12 months;
- Polish product.
Warranty and detailed instruction manual is attached.
Reference measurement: using this function you can perform measurements of the selected point. This function is useful when comparing several test sites in the car. For example, we choose the reference point on the left front door, and then make measurements on other parts of the car (pre-select the menu option material “ref_file Point”). In this way, for example by measuring the result, the roof-10um, which means that the roof has a thinner coat of 10um from left front door. The reference point is not deleted when the gauge is turned off.
In addition, this feature is used to program another variety plate (other metals). When setting the reference point just do it on a clean plate, and since then the choice of the material as “Point ref_file” we will be able to measure precisely on the baking sheet.
Data sheet
| Measuing range (µm) | 0-1100 |
| Resolution (µm) | 10 |
| Power consumption (mA) | 50 |
| Maximum number of measures | 100 |
| Battery type | Alkaline 9V |
| Manufacturer code | 11202 |
Questions
No questions for this product, be the first to ask


